
I looked at advent calendars all over the internet for inspiration and ended up combining a few different ideas to come up with one of my own that was easy to do, used mostly materials I already had (so it didn't cost a fortune to make) and that I think looks great. I'm really happy with how it turned out and I cant wait until December to start using it.

My calendar is made up of origami paper boxes. There are lots of ways to adapt this to use things you already have around the house so I encourage you to adjust as necessary. Not every project needs to cost a bundle! For the purpose of a tutorial, though, here's what I used.
Materials:
Holiday scrapbook paper (13) 12x12 sheets
1 sheet white card stock
1 inch circle punch
Glue dots
A gold marker
large framed corkboard
Thumbtacks
The first step (and the longest) is to make 25 origami boxes. This is actually really easy to do. I had never made a box from paper before but I found this great video tutorial and had no trouble following along. I was a pro in no time. To begin, cut each sheet of scrapbook paper into (4) 6 inch squares (this is enough for 26 boxes, you really only need 25).

Start with one square, pattern side down, and fold it in half.

Unfold, fold in half the other way.

Unfold, fold each corner in to the center using the creases you made already for guidance.


Do not unfold, Fold the bottom side into the center. Fold the top half into the center. Unfold.

Repeat on the other side.

Unfold then refold two opposite corners into the center then fold the top and bottom toward the middle and flatten the ends like shown.


Now turn the paper lengthwise and bring those same sides up.

This part is hard to explain but now you basically push the ends in with your index fingers...the paper will collapse in on the creases you've made and you can fold the far end over and into the bottom of your box.


Voila! The bottom is done!

The top is made the exact same way except when you are folding the bottom and top toward the center (after the points have been folding in) you want to leave a small gap. And again when you repeat on the other side. Like this...

This will make the top half just big enough to close down over the bottom. Finished boxes!

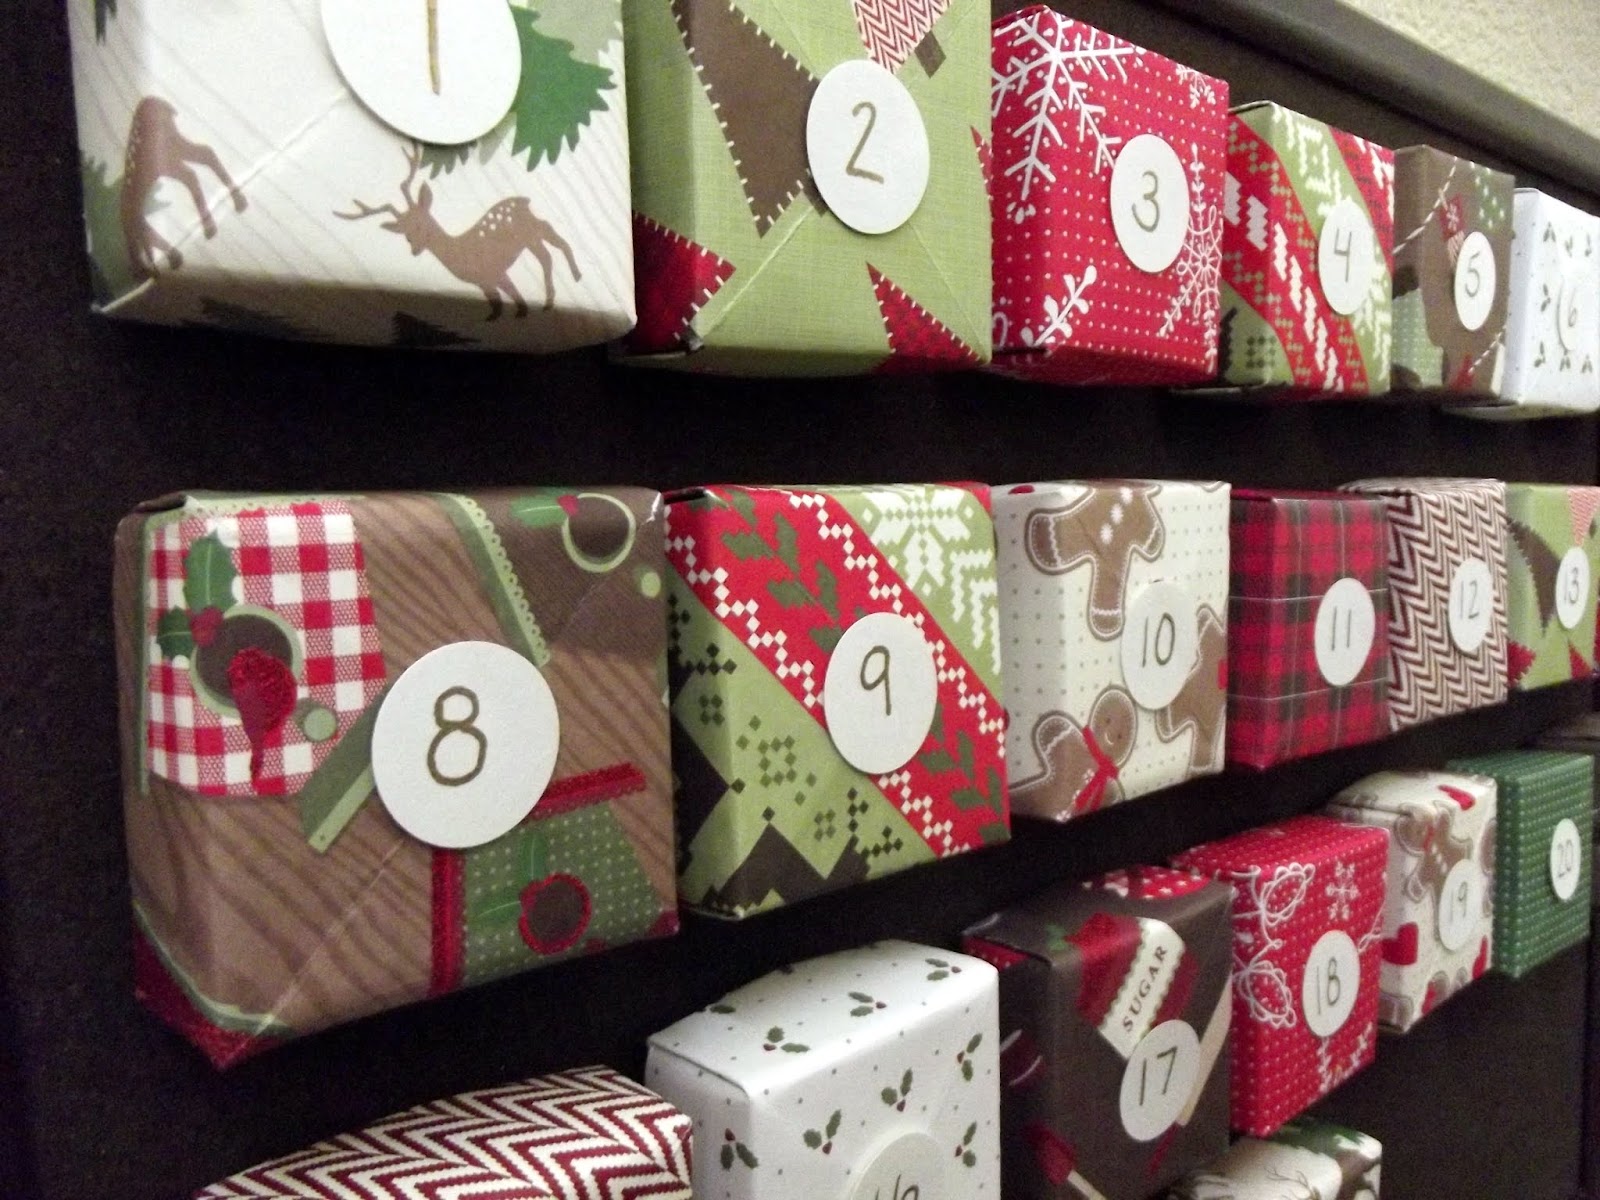
Once you have them all done, arrange them on the cork board (or whatever you are mounting them to) so that you can make sure you like how your patterns are distributed.
Now use the paper punch to create 25 small circles. Use the gold pen to write in your numbers. Affix the numbers to the boxes using the glue dots.
To attach the finished boxes to the corkboard I just put a thumbtack through the bottom part of the box and then put the lid on over top.

That's it! Admire your handywork!

Add a ribbon or some other embellishment if desired and fill with candy or slips of paper with family activities written on them. I'm going to include things like "decorate the Christmas tree" "open 1 present" (Christmas PJs) and "watch a Christmas movie". Should be fun. :)
So there you have it! I hope you like it. The pictures aren't the best (as usual!) but I really like the finished product. The patterns are fun and Christmasy but still simple and pretty.
Now back to all that Thanksgiving prep I have left to do.....
This post is linked to:

I like this DIY Advent Calendar.. very clever. Thanks!
ReplyDelete